
How to Set Up a Dependable Automated Chicken Coop
Automate the repetitive door, feed, water, monitoring, and power tasks while preserving the daily welfare checks that hardware cannot replace.
Outdoor Tech Index Editorial Team · Updated 2026-08-17 · 14 min read
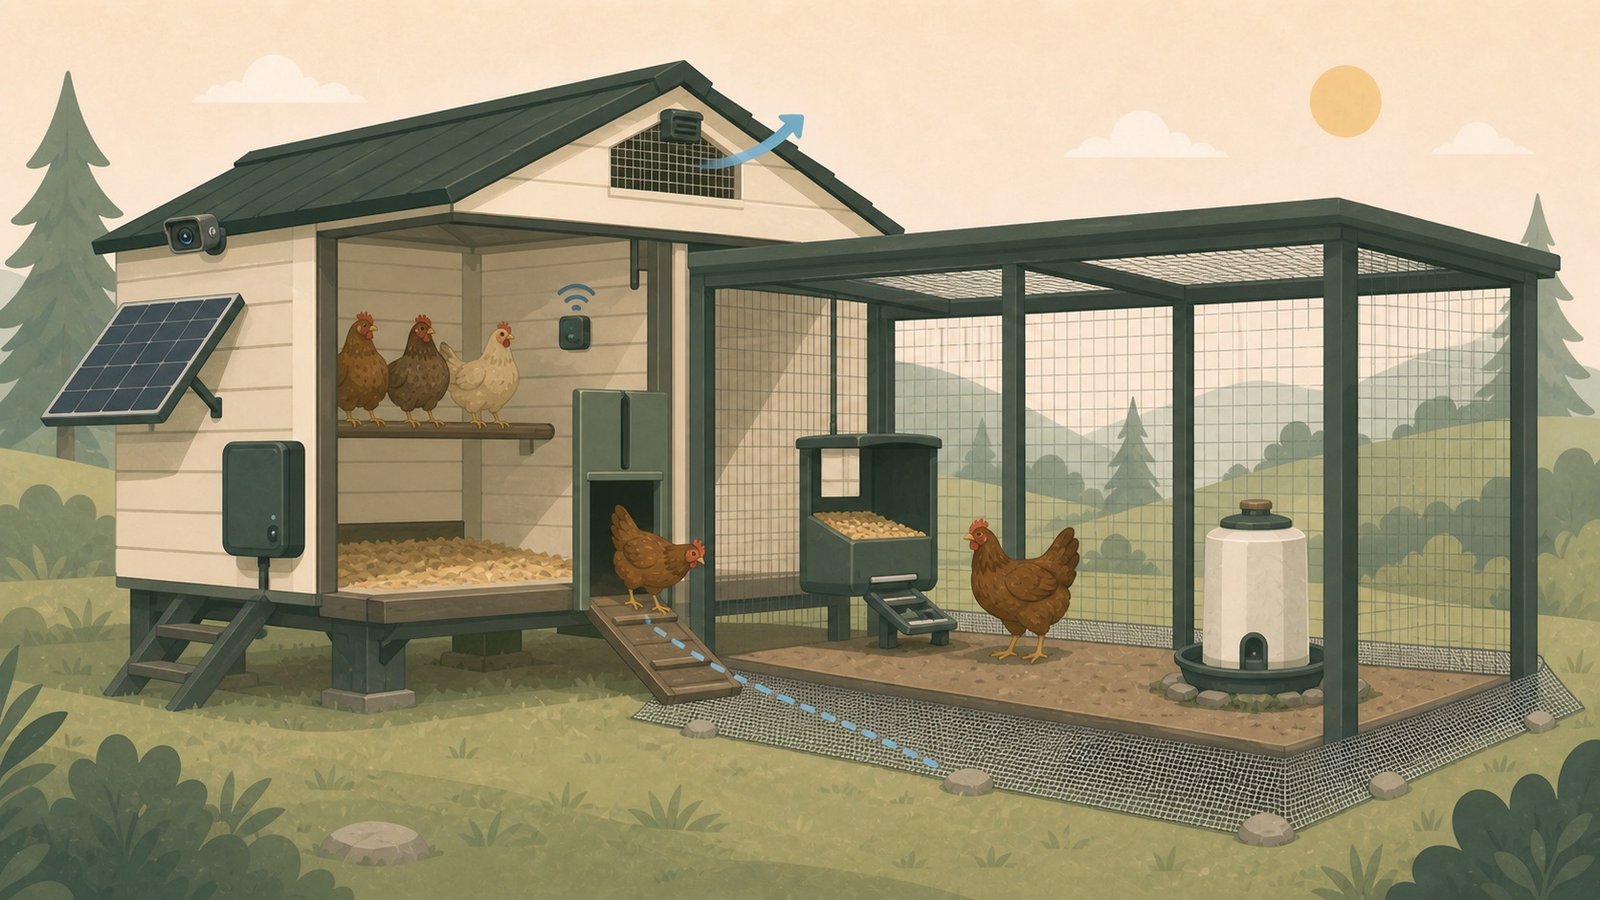
Quick Answer
Safety and scope
Animal welfare comes before convenience. A stuck door, frozen water line, empty feeder, damp bedding, predator breach, or failed sensor can become urgent. Inspect the flock, feed, water, ventilation, and enclosure every day even when all apps report normal status.
Size the biological system before the electronics
Use flock size and climate to size floor area, feeder access, water capacity, ventilation, and run security. Extension guidance varies by housing and conditions, but it consistently emphasizes dry draft-free shelter, continuous feed and clean water access, predator protection, and air exchange that removes moisture and ammonia. Electronics should monitor and operate that physical system—not compensate for an undersized or unsafe coop.
Worked example: For eight hens, design enough feeder and water access that lower-ranking birds are not excluded, then store more than one day of feed and water without allowing it to spoil or attract rodents. If using nipple drinkers, Penn State suggests roughly one nipple for every 6–8 birds; the reservoir still needs daily verification and freeze protection where required.
Build the system in this order
1. Predator-proof and weatherproof the structure
Repair gaps before installing smart devices. Use heavy-gauge hardware cloth rather than relying on chicken wire as a predator barrier, secure doors and latches against dexterous animals, protect the top of the run, and use an outward apron or buried barrier suited to local digging predators. Keep the coop on well-drained ground and remove sharp edges and pinch points.
- ✓ Check every opening at dusk
- ✓ Test latches with firm pulling and lifting
- ✓ Keep feed in a rodent-resistant metal container
2. Establish ventilation without a roost-level draft
Provide high openings that let warm moist air and ammonia escape while avoiding a direct cold stream across roosting birds. Screen openings against predators. Condensation, damp litter, strong ammonia odor, and recurring frost inside are system warnings, not problems to hide with fragrance or heat. Fix water leaks and excess moisture first.
- ✓ Inspect roof and wall condensation
- ✓ Smell at bird height during the morning check
- ✓ Keep vents clear of dust and cobwebs
3. Fit and test the automatic pop door
Choose an opener and door sized for the existing opening and bird traffic. Ensure the travel path cannot bind from bedding, ice, warped wood, or a shifted guide. Use the safest available closing behavior and a manual override. Train birds to use the opening, then supervise multiple full open/close cycles at the actual programmed times before relying on it.
- ✓ Test obstruction behavior
- ✓ Verify clock or light-sensor logic after daylight changes
- ✓ Keep a manual close method at the coop
4. Add protected, measurable feed capacity
A treadle feeder can reduce access by wild birds and rodents when properly adjusted and when birds are trained to use it. Capacity should reduce refill frequency without holding feed so long that it becomes stale, wet, moldy, or infested. Position it on a dry, stable surface and provide enough access for the flock’s pecking-order dynamics.
- ✓ Weigh or mark a known refill level
- ✓ Inspect for damp feed and pests daily
- ✓ Confirm every bird learns the treadle
5. Build water redundancy before water automation
Use a reservoir and drinker system that can be visually checked, cleaned, and protected from contamination. Raise conventional waterers to the birds’ back height or place nipples just above eye level as appropriate. In freezing climates, use equipment specifically rated for the job, protect cords, and keep a non-electric backup waterer ready for power failure.
- ✓ Confirm flow at every nipple or outlet
- ✓ Watch several birds drink
- ✓ Keep a same-day manual water backup
6. Monitor local climate, not app comfort
Place a temperature/humidity sensor where birds live but where they cannot peck it, wet it, or cover it with dust. Use trends to catch rising humidity, freezing risk, and heat—not to automate heating blindly. A camera can help verify behavior, door movement, and predator activity, but aim it away from intense night illumination and protect privacy beyond the property.
- ✓ Compare the sensor with a second reference
- ✓ Set alerts with enough margin to act
- ✓ Clean lenses and sensor vents regularly
7. Design power and connectivity for failure
List each device’s voltage, daily energy use, battery type, low-temperature limits, and behavior after power returns. Local-only door operation is more resilient than a device that requires cloud access to open. Where solar is used, size it for winter and shade, weatherproof every connection, fuse circuits correctly, and keep critical functions independent when practical.
- ✓ Simulate power loss
- ✓ Simulate Wi-Fi loss
- ✓ Verify all schedules and states after power restoration
8. Create daily, weekly, and monthly checklists
Daily: see every bird, confirm feed and water, inspect the door and enclosure, and check litter and air. Weekly: clean drinkers, inspect stored feed, test manual overrides, and review sensor trends. Monthly: inspect fasteners, door guides, wiring, battery condition, camera storage, predator evidence, and the emergency kit.
- ✓ Keep the checklist at the coop
- ✓ Log abnormalities rather than relying on memory
- ✓ Assign a trained backup caretaker
A chore-reducing coop package
Install in this order: secure door, reliable feed, reliable water, then monitoring. A complete package still assumes a sound coop and daily in-person checks.
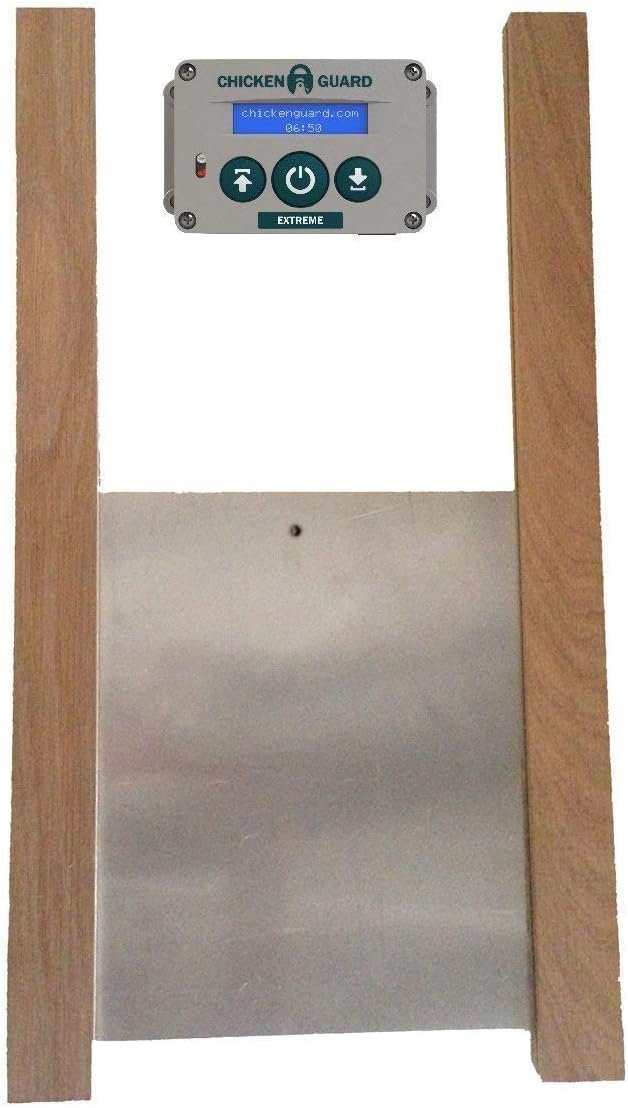
ChickenGuard Classic Door Kit Combi
Automatic open/close foundation
A complete opener-and-door reference for automating the highest-frequency secure-access chore. Fit and obstruction testing matter more than the schedule feature list.
View product →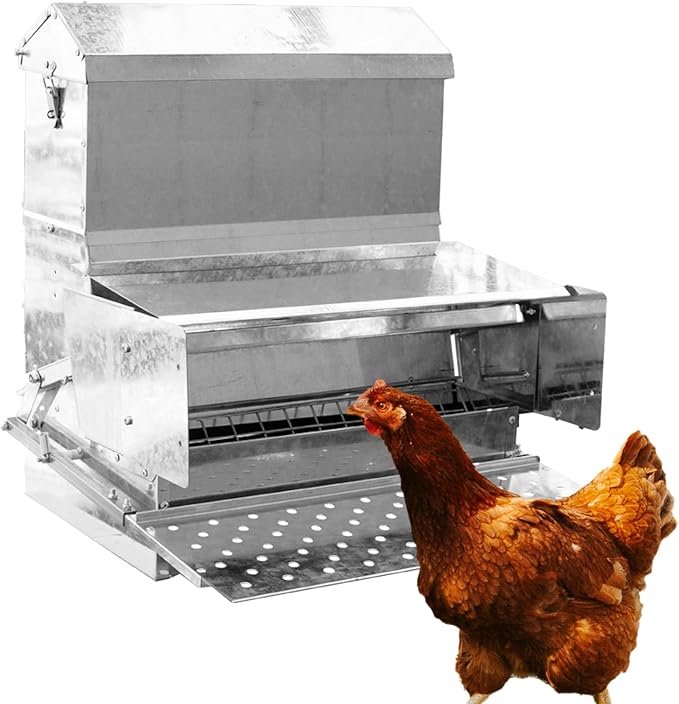
RentACoop 40 lb Treadle Feeder
Protected bulk feed
Reduces refill frequency and limits open access when birds are trained correctly. Large capacity is useful only if the feed stays dry and is inspected daily.
View product →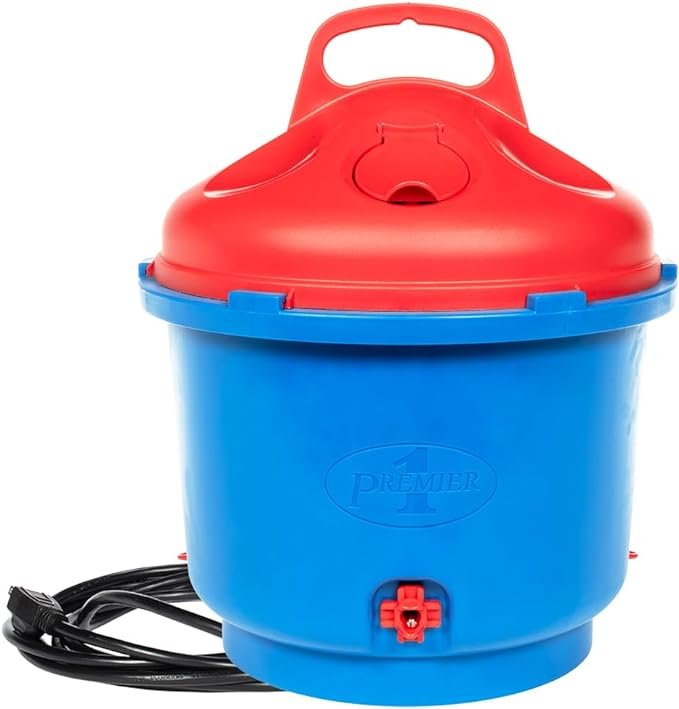
Premier 1 All-Season Heated Waterer
Cold-weather water access
A purpose-built reference for freezing conditions. Keep a manual backup and follow electrical and cleaning instructions; heated does not mean maintenance-free.
View product →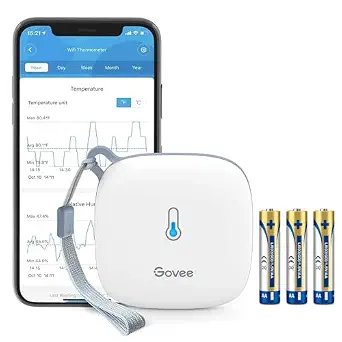
Govee H5179 climate monitor
Remote temperature and humidity trends
Adds visibility after the physical ventilation and water system are sound. App alerts should trigger inspection, not automatic assumptions about bird welfare.
View product →Outdoor Tech Index may earn a commission when you buy through links on this page. This does not affect the price you pay.
Maintenance schedule
- Observe every bird, feed level, water flow, door state, air quality, and enclosure security daily.
- Clean water components and remove damp feed or bedding on a schedule appropriate to weather and flock conditions.
- Test door obstruction, manual override, clock, light sensor, batteries, and post-power-loss behavior monthly.
- Inspect hardware cloth, apron, latches, roof, vents, cords, solar mounts, and predator evidence after storms.
- Review sensor trends and camera footage for patterns, but verify every alert in person.
Common mistakes
- Automating an insecure or poorly ventilated coop instead of correcting the structure first.
- Assuming a closed-door notification proves every bird is safely inside.
- Using chicken wire as the only barrier against predators and rodents.
- Relying on one water source in freezing or very hot weather.
- Putting a camera or sensor where dust, pecking, condensation, or direct sun corrupts the reading.
- Treating automation as permission to skip the daily flock check.
Frequently asked questions
+Can an automatic door keep predators out by itself?
No. It protects one opening only when correctly closed. The walls, roof, floor, vents, run, apron, latches, and gaps all remain part of the predator barrier.
+Should the door use a timer or light sensor?
Either can work. A timer is predictable but needs seasonal adjustment; a light sensor follows daylight but can be affected by shade and artificial light. Test the chosen logic with your birds and keep a manual override.
+Is Wi-Fi required?
It should not be required for the core welfare function. Remote monitoring is helpful, but a door, waterer, and feeder should remain operable locally during an internet outage.
+Do I need a heated coop?
Not automatically. Extension guidance emphasizes dryness, ventilation, draft management, breed, and climate. Heat equipment adds fire and failure risks. Consult local poultry guidance for extreme conditions rather than using a generic thermostat rule.
Primary sources
This is a research-based system guide, not a report of hands-on testing. Product specifications and regulations can change; confirm current documentation and local requirements before buying or installing.