
How to Build a Rainwater Collection System for Garden Use
Size the catchment, route clean roof runoff through debris control and a first flush, store it safely, and deliver it to the garden without contaminating household plumbing.
Outdoor Tech Index Editorial Team · Updated 2026-08-17 · 14 min read
Quick Answer
Safety and scope
This guide is for non-potable outdoor use. Rainwater can contain microorganisms and chemicals from air, roofs, gutters, animals, and storage materials. Do not drink it or connect it to household potable plumbing without locally compliant design, treatment, testing, and professional guidance.
Estimate supply before buying a tank
A common planning estimate is gallons captured = rainfall in inches × roof catchment area in square feet × 0.623 × runoff coefficient. A smooth roof may use a preliminary coefficient near 0.8–0.9, but actual yield is lower after first-flush diversion, splash, leaks, overflow, and storms that arrive when the tank is already full. Compare monthly supply with monthly irrigation demand rather than relying on an annual total.
Worked example: Example: 1 inch of rain on 600 square feet of roof has a theoretical yield of about 374 gallons before losses (1 × 600 × 0.623). At an 0.85 planning coefficient, that is roughly 318 gallons before first flush and overflow. A 55-gallon barrel would fill quickly; a larger tank captures more of the same event but needs a much stronger base.
Build the system in this order
1. Define exactly how the water will be used
Write down whether the system will water ornamentals, trees, lawn, or food crops; how many gallons the irrigation zone uses; and how many rain-free days you want to bridge. Use determines the required water quality and whether gravity pressure is enough. Drip irrigation can work at low pressure when components are selected for it, while sprinklers usually need a pump and more flow.
- ✓ Check state and local rainwater rules
- ✓ Keep a separate safe drinking-water supply
- ✓ Mark non-potable outlets clearly
2. Inspect the catchment and map the flow path
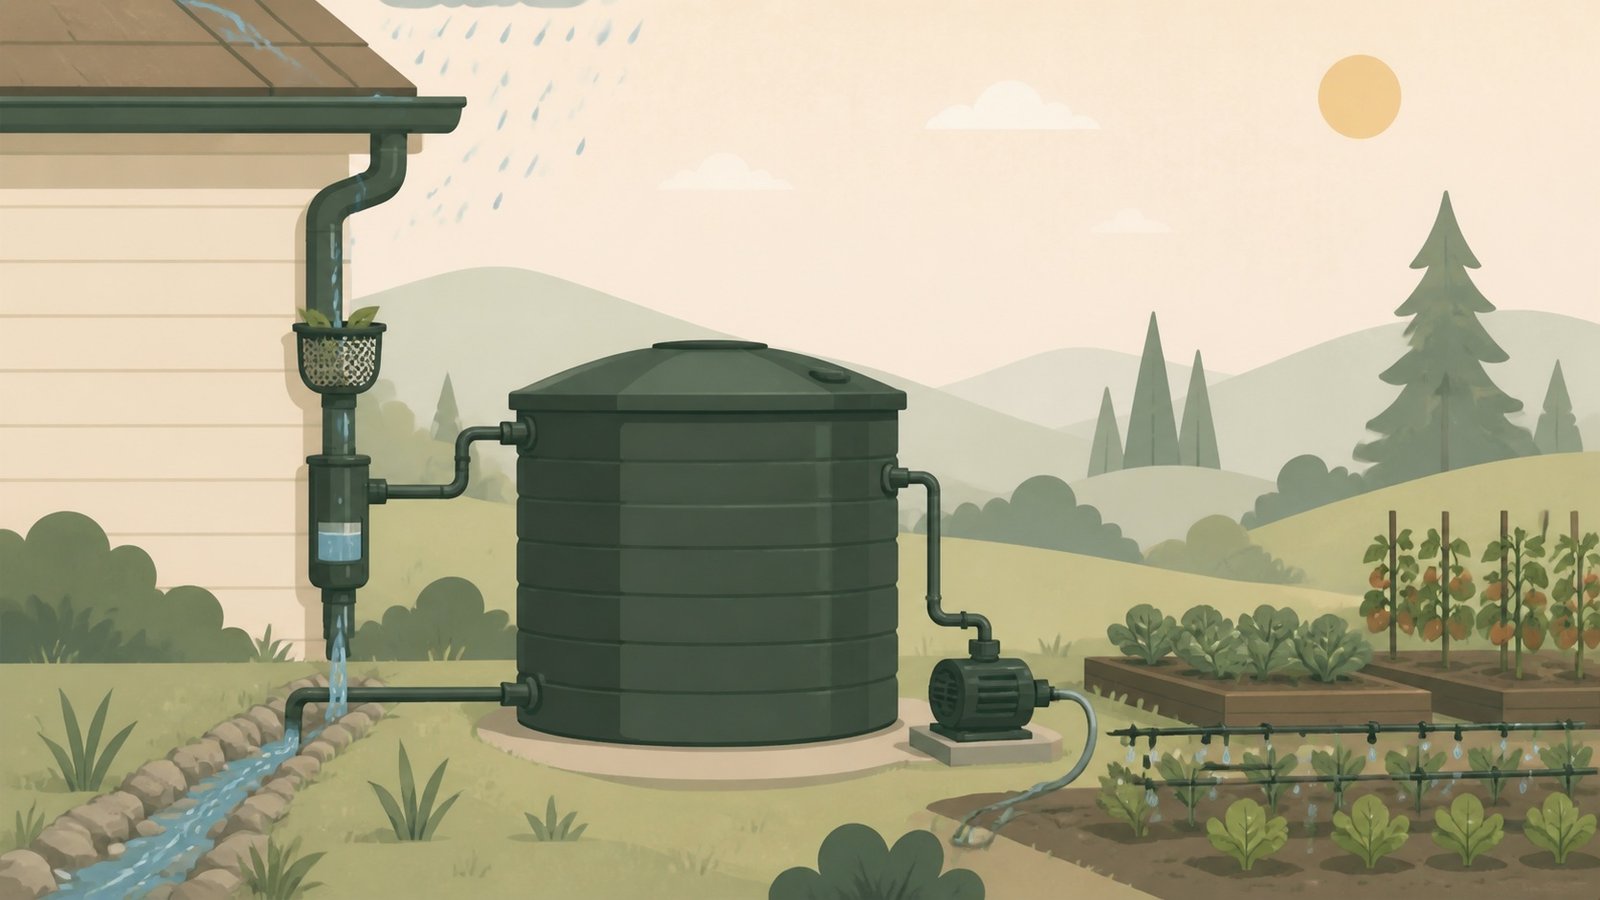
Choose a roof section with sound, compatible materials and a gutter that can carry the design storm. Avoid runoff from surfaces that may add lead, copper, asbestos, treated wood chemicals, or other contaminants. Sketch the full route from roof to inlet, tank, overflow, pump or spigot, and irrigation zone before buying fittings. Favor gravity and short, accessible pipe runs.
- ✓ Measure roof footprint, not sloped roof surface
- ✓ Confirm gutter slope and downspout condition
- ✓ Keep the tank close enough to reduce pipe and pump losses
3. Prepare a base for the full tank weight
Water weighs about 8.34 pounds per U.S. gallon. A full 275-gallon tank contains roughly 2,294 pounds of water before the tank and hardware are counted. Use a flat, compacted, load-bearing base sized for the entire tank bottom, follow the tank manufacturer’s support requirements, and protect it from impact, erosion, frost movement, and vehicle traffic.
- ✓ Verify access for maintenance and replacement
- ✓ Do not block wall drainage or utilities
- ✓ Anchor or brace only as the tank maker permits
4. Install debris screening and a serviceable first flush
A leaf screen stops large debris before it enters the downspout. A first-flush diverter then sends the initial roof wash—often the highest in dust, pollen, droppings, and other contaminants—away from storage. Size the diverted volume to the catchment and local guidance, install it where it can drain, and make every screen and cleanout reachable without dismantling the system.
- ✓ Screen the inlet against insects
- ✓ Provide a drain path for diverted water
- ✓ Clean screens after leaf fall and major storms
5. Connect a closed, opaque storage tank
Use a tank intended for water storage, with a secure lid and protected openings. Opaque walls limit sunlight that supports algae. A calming inlet can reduce disturbance of settled material; draw water above the tank bottom so sediment is less likely to enter the outlet. Provide a bottom drain or accessible method for periodic cleaning.
- ✓ Seal gaps that admit mosquitoes or rodents
- ✓ Use compatible bulkhead fittings
- ✓ Never enter a cistern—confined spaces can be deadly
6. Size and route overflow before the first storm
Once the tank is full, every additional gallon must leave safely. The overflow should be at least capable of handling the incoming design flow, screened against pests, and routed to an approved infiltration or drainage point away from the foundation and tank base. Do not install a valve that can accidentally close the only overflow path.
- ✓ Protect the outlet from erosion
- ✓ Prevent animals from entering the overflow
- ✓ Test the path with a hose before rain
7. Choose gravity delivery or a protected pump
A raised tank produces limited pressure—about 0.433 psi per foot of water height—so ordinary sprinklers may perform poorly. For pumped distribution, add an accessible inlet strainer, correctly sized tubing, fuse and wiring, a dry-run or low-level shutoff, and protection from weather and freezing. Match pump duty cycle, flow, pressure, and power source to the irrigation system rather than selecting by maximum pressure alone.
- ✓ Use a pressure regulator where drip parts require it
- ✓ Place a filter upstream of emitters
- ✓ Provide unions and shutoff valves for service
8. Commission one section at a time
Flush the gutter and conveyance piping before sending water to storage. Fill the tank partially, inspect every bulkhead and joint, simulate a full-tank overflow, then test the distribution line. Record pump current, delivered flow, and the time required to irrigate each zone. Fix leaks and poor drainage before leaving the system unattended.
- ✓ Confirm no cross-connection to potable water
- ✓ Label the spigot non-potable
- ✓ Photograph valve positions for future reference
A practical garden-catchment package
Buy the water-quality and storage fundamentals before adding automation. Tank capacity and fitting sizes must be selected for the measured roof, site, and irrigation demand.
Rain Harvesting Leaf Eater + First Flush Diverter
Debris and roof-wash control
Start by keeping leaves and the dirtiest initial runoff out of storage. Select pipe size and diverted volume for the actual downspout and catchment.
View product →Norwesco Vertical Water Tank
Opaque bulk storage
A purpose-built above-ground water tank is a safer foundation than an improvised open container. Choose only after calculating yield, demand, full weight, and available base area.
View product →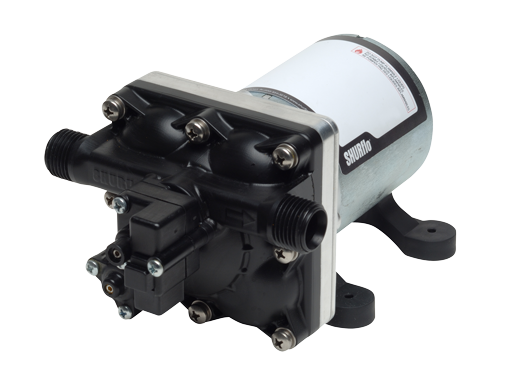
Pentair SHURFLO Revolution 4008
On-demand distribution pump
A documented 12V demand-pump reference point for systems that need more pressure than gravity can provide; installation requires the specified strainer, wiring, protection, and duty-cycle limits.
View product →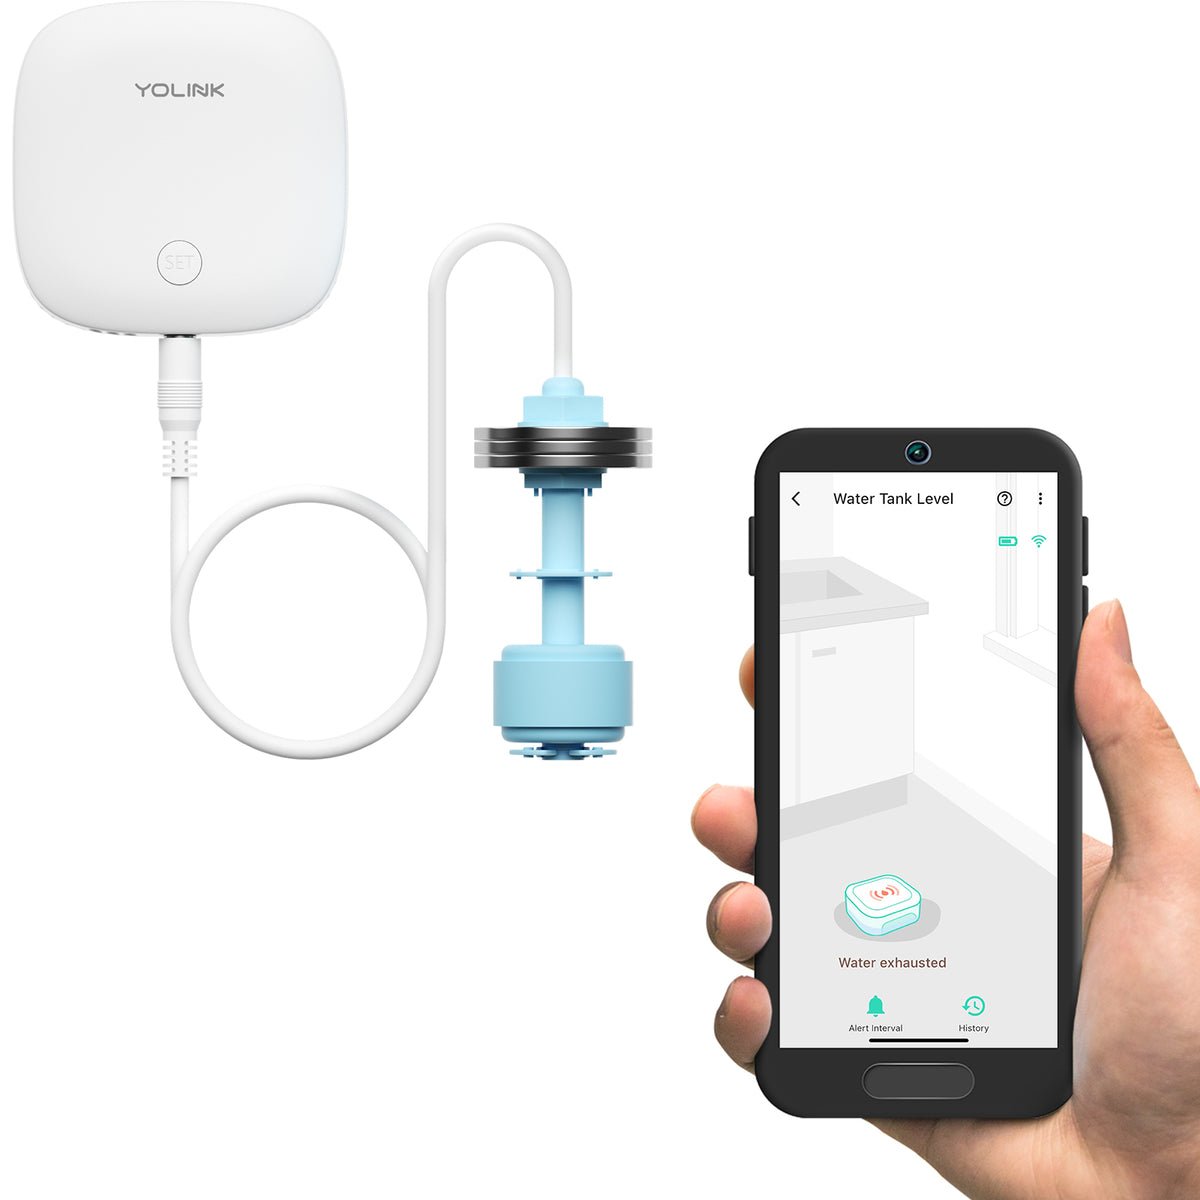
YoLink Water Level Monitoring Sensor
High/low tank alert
Useful after the plumbing works: a float-switch alert can warn that the tank is full or low, but it does not provide continuous depth unless paired with a depth-capable sensor.
View product →Outdoor Tech Index may earn a commission when you buy through links on this page. This does not affect the price you pay.
Maintenance schedule
- Clean gutters, leaf screens, and first-flush devices at the start of the wet season and after major debris events.
- Inspect lids, inlet screens, overflow screens, vents, hoses, valves, wiring, and the tank base at least seasonally.
- Drain first-flush chambers as designed and confirm their drain openings have not clogged.
- Check for algae, odors, insects, sediment, leaks, erosion, and pump cycling; correct the cause rather than masking the symptom.
- Winterize exposed pipe, pumps, and filters before freezing weather according to component instructions.
Common mistakes
- Buying a tank from annual rainfall totals without comparing month-by-month supply and demand.
- Placing a heavy tank on blocks, loose soil, or a base that supports only part of the bottom.
- Skipping overflow design; a full tank turns the entire downspout flow into unmanaged runoff.
- Using clear or open storage that admits light, insects, animals, and debris.
- Assuming a sediment filter alone makes roof water safe to drink.
- Connecting rainwater to potable plumbing without approved backflow protection and local compliance.
Frequently asked questions
+Can I drink water from this system?
Not as described. CDC guidance says rainwater is not necessarily safe to drink and can contain germs and chemicals. Potable use needs local approval, appropriate materials, treatment selected for tested contaminants, routine testing, and safe separation from treated plumbing.
+Is a 55-gallon barrel enough?
It can be useful for a small garden, but even a modest roof can fill it during one storm. Use the catchment equation and daily irrigation demand to see whether it is a meaningful reserve or mainly a stormwater buffer.
+Do I always need a pump?
No. A raised tank can supply a low-pressure hose or compatible drip system, but elevation produces limited pressure. Use a pump when the required pressure, lift, or distance exceeds what gravity can deliver.
+How large should the first flush be?
There is no universal volume. It depends on roof area, contamination, rainfall pattern, and local guidance. The important design points are that it is sized deliberately, drains correctly, and remains easy to service.
Primary sources
This is a research-based system guide, not a report of hands-on testing. Product specifications and regulations can change; confirm current documentation and local requirements before buying or installing.